How to Send a Notification
A step-by-step guide to generating the code snippet required to integrate a Notification into your codebase and send it to your users.
Send a Notification
Once you have completed the Design and Preview steps, the last step is to generate a code snippet you can test and integrate with your codebase.

To send a Notification, a developer needs to integrate the code snippet generated by Courier with your codebase. Integration options include Courier's SDKs and making an HTTP request directly to the Courier Send API.
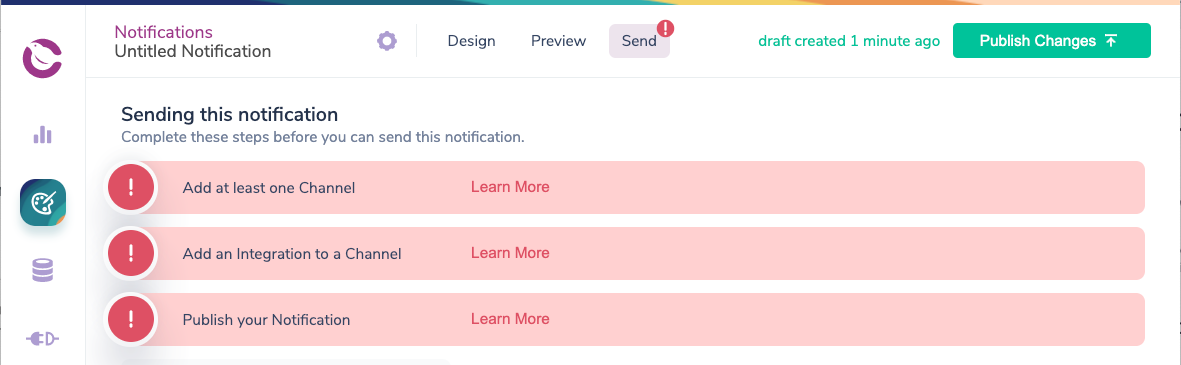
If you have missed any of the steps required to send the Notification, you will see a call to action for that step in the Send Tab.
Generating a Code Snippet to Integrate in Your Codebase.
Once you have completed the required steps, you'll be able to generate a code snippet and send a test Notification.
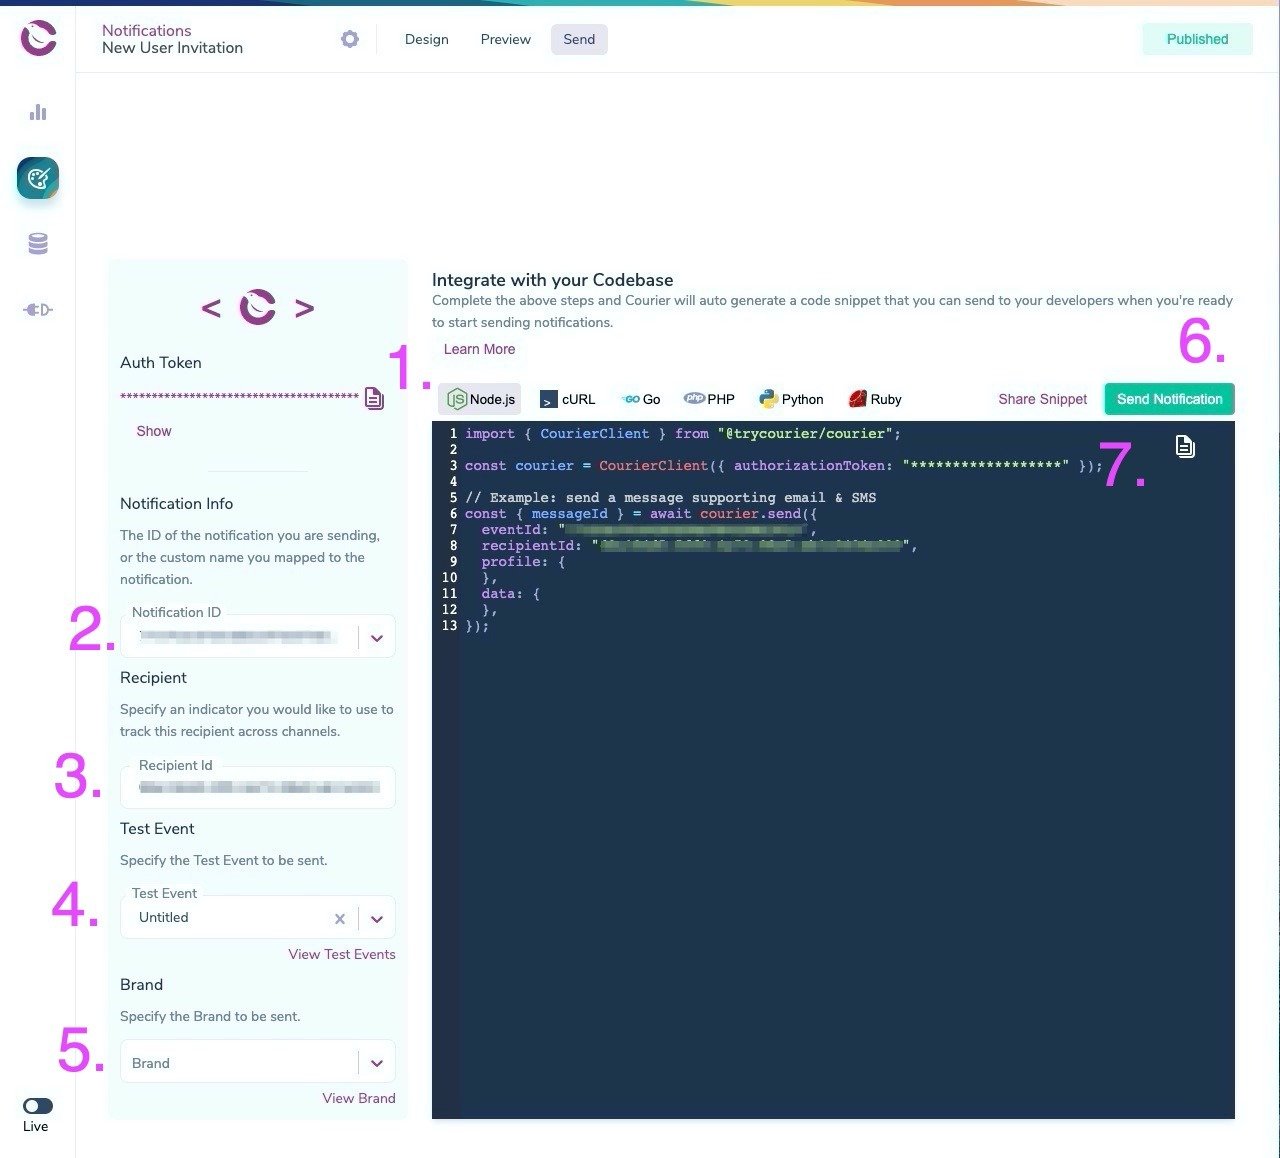
To generate the right code snippet for your database to start sending your Notification to live users, confirm you have the right selection for these three settings:
- Select your programming stack
- Set the notification event
- Recipient id setting
Sending a Test Notification
After you configure the Code Snippet, setting these values will allow you to send a test Notification from the Send Tab:
- Select a test event
- Select the brand (Email notifications)
- Send a test notification
- Copy the code snippet
Sending Prerequisites
1. Select the Programming Stack for Your Code Snippet
- Switch programming languages to generate the code snippet in the language needed to integrate the Notification into your codebase.
- Clicking View SDK in the Send tab will link you directly to the SDK for the language you've selected.
2. Select a Notification Event
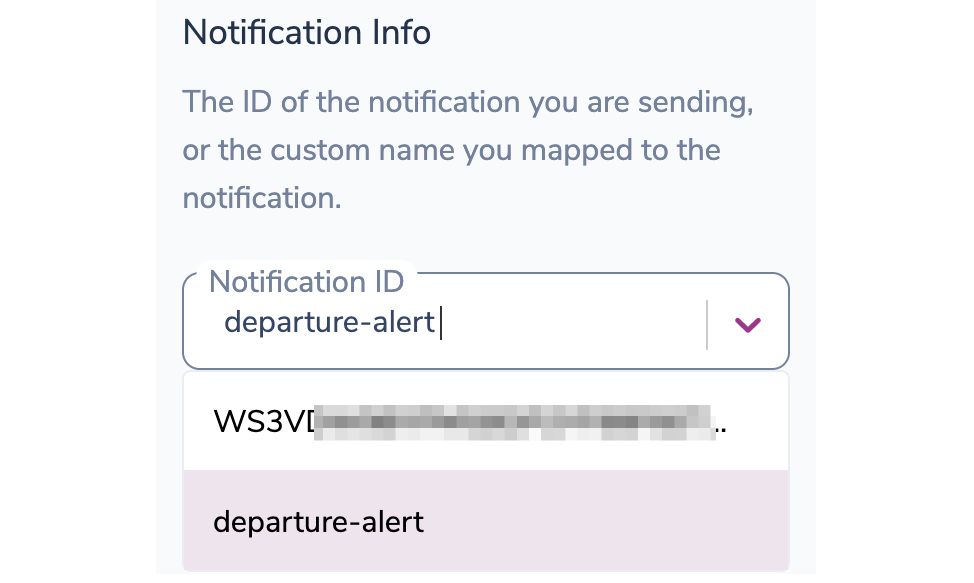
- The Notification Event included in the code snippet is used to identify and trigger the correct Notification.
- This
eventcan be either the Notification ID or the Event ID mapped to it in the Event Settings.
3. The Recipient Id
- A unique identifier associated with the recipient of the delivered message.
- The string in the code snippet is randomly generated to enable the test send.
- You can click into the field and customize it.
- When integrating into your codebase, your app will need to insert the correct Receipient ID into the
sendcommand.
Sending a Test Notification Prerequisites
Once you have completed steps 1-3 to generate the correct code snippet, complete steps 4 and 5 to send a test Notification via your integrated channels.
To send a test notification, you'll need:
- A valid Integration added to at least one Notification Channel.
- A Test Event in the Preview tab with valid recipient data in the profile
4. Select a Test Event
Select the Test Event with the profile data of the recipient for your test Notification.
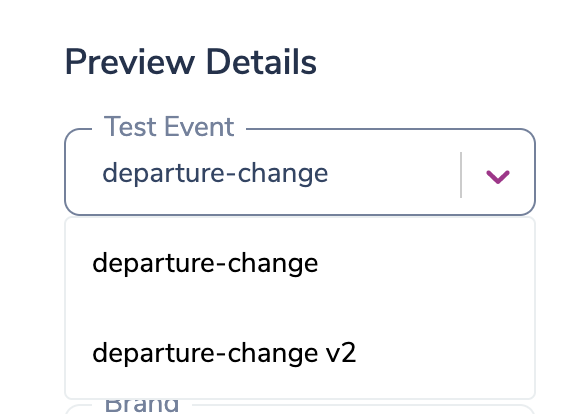
Read More: Creating Test Events in the preview tag.
5. Specify the Brand
If you are testing an Email Notification, you can specify which of your Brand Email Templates you want to have applied to the test. If you don't specify a brand, Courier will apply your Default Brand.

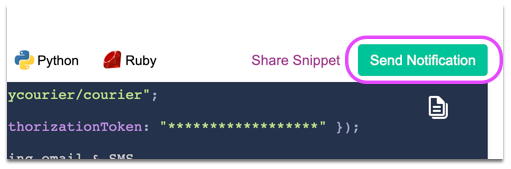
6. Send a Test Notification
Once you've completed steps 1-5, click Send Notification. Check the Data Logs to review the results.
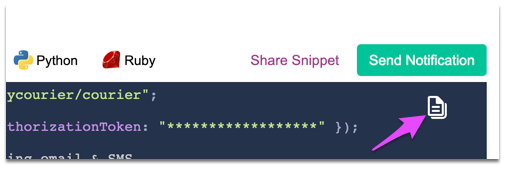
7. Copy the Code Snippet
You can click on the Copy to Clipboard button to paste and integrate it into your codebase or share it with your developer through other channels.
If you're not sure how to do that, here are a few options for sharing the Code Snippet:
- Sharing code snippets via Slack.
- Sharing code snippets via MS Teams.
- Send the Code Snippet as plain text via Gmail.
- Create and share a Github Gist.